
How to Use Super Screen Capture?
The Zeallsoft Super Screen Capture is a professional and easy-to-use screen capture software. The snipping tool can grab any screen images to JPG/PNG/BMP format or the other way around. You can take a screen shot and save it to a Image File, Clipboard, Painter, Mail, Pinter, Word, PPT or Image Editor. A variety of capture mode supported, Include Capture Full Screen, Active Window, Menus, Objects, Rectangular Regions, Freehand Regions, Polygon Screen, Fixed Region, Scrolling Webpage. And it have Color Picker, you can pick any color from desktop screen. It allows you to record screen activities, and record sound from microphone save it as a high-definition videos.
The screen capture software also have a powerful Image Editor. Add a watermark to your capture file with transparency. Screen Editing program include annotating, texts, arrowed lines, highlights, cropping, resizing, sharpening, applying edge effects and more.
More information you can visit: Screen Grabber
Download and Setup the Zeallsoft Super Screen Capture
The following manual will teach you how to use the software:
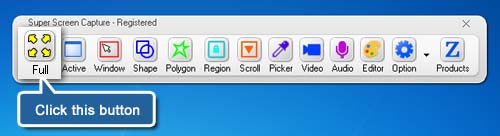
1 Capture Full Screen to Screenshot
Open the software you want to capture screen, and click "Full Screen" button on the capture bar (Or press <Print Screen> key).
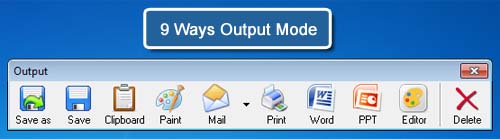
A image of the screen is copied and you can save it to image editor wherever you'd like.
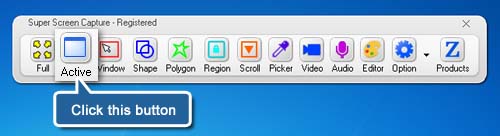
2 Capture Active Screen to Snapshot
Tap the window you want to capture.
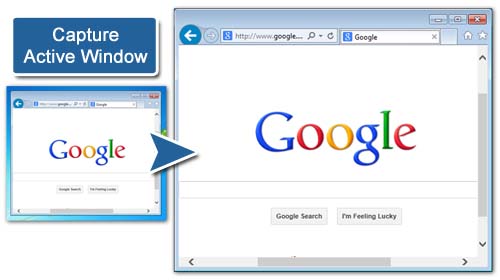
Click the "Active" button on the capture bar, or press <Alt + PrtScn>.
A photo of the window is copied and you can save it to image editor wherever you'd like.
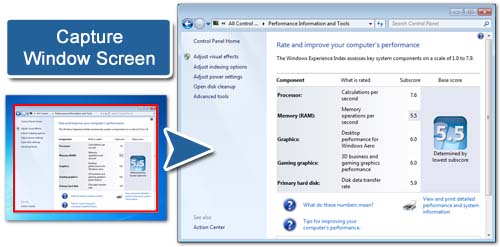
3 Capture Window Screen to Screenshot
Click the "Window" Button on the capture bar, or Press <F12>.
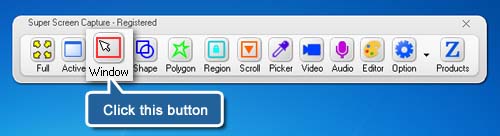
Please move your cursor, you will see the window is flashing when the cursor over the window. Then click the window.
The output tool will display after capture. Choose an output, for save, copy, mail or print.
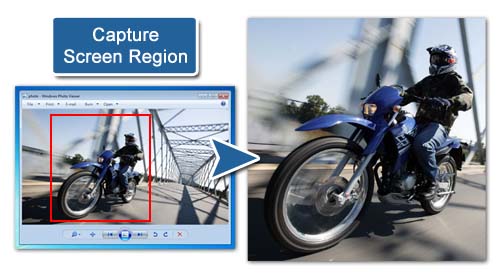
4 Capture Screen Region to Snapshot
Open the window you want to capture.
Click the "Shape" button on the capture bar, or press <F11>.
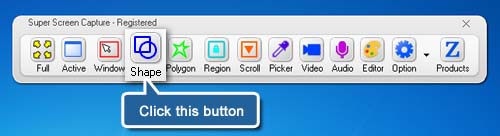
Drag the mouse, with the left button held down, across the desired material.
On the output tools, You can save the captured image or share it.
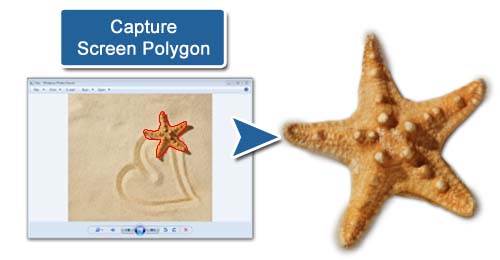
5 Capture Polygon Screen to Screenshot
Click the "Polygon" button on the capture bar, or press <F10>.

Draw an irregular line, such as a ellipse or a triangle, around an object.
Choose an output way to save it.
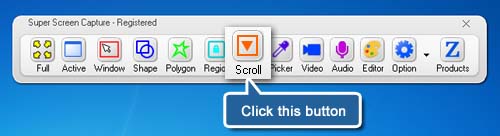
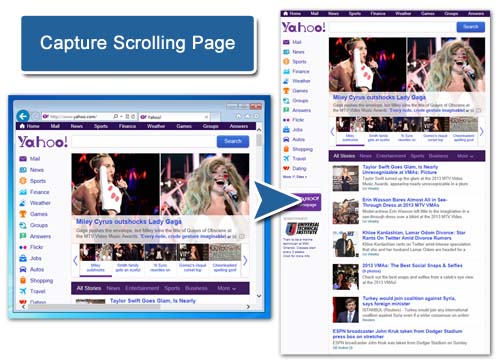
6 Capture Scrolling Screen/Webpage to Snapshot
Open your scrolling screen or webpage.
On the capture bar, Click the "Scroll" button , or press <F8>.
Move your cursor on the scrolling screen/webpage you want to capture. The page is flashing. Than click the area of page. This page will automatically scroll down.
On scrolling finish. You can save the long page to a file/mail/editor.
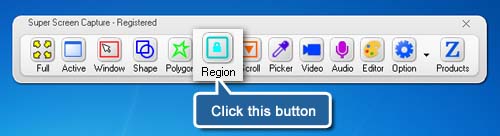
7 Capture Fixed Region to Screenshot
On the capture bar, Click the "Region" button, or press <F9>.
Move the frame to the region you want to capture, than click the region or press <Enter>.
This region has been capture in memory. You can export the image to many ways.

Tips: You can press <Space> to change the size of region.
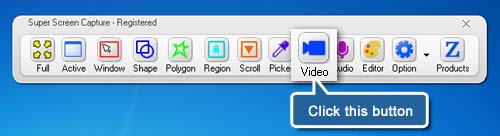
8 Record Screen Activities to Video Screencast
The function allows you can record screen activities to a AVI file.
On the capture bar, Click the "Video" button, or press <Ctrl + Print Screen>.
The video record tools will appear. If you want to record full screen, please click the "Full Screen" button. Adjust the size of record frame. Click the "Record" button to start record video.

Click the "Stop" button to stop record video. The video files are saved in the video folder, than click the "Play" button to watch the record video, or click the "Open Folder" to open the directory.